Introduction
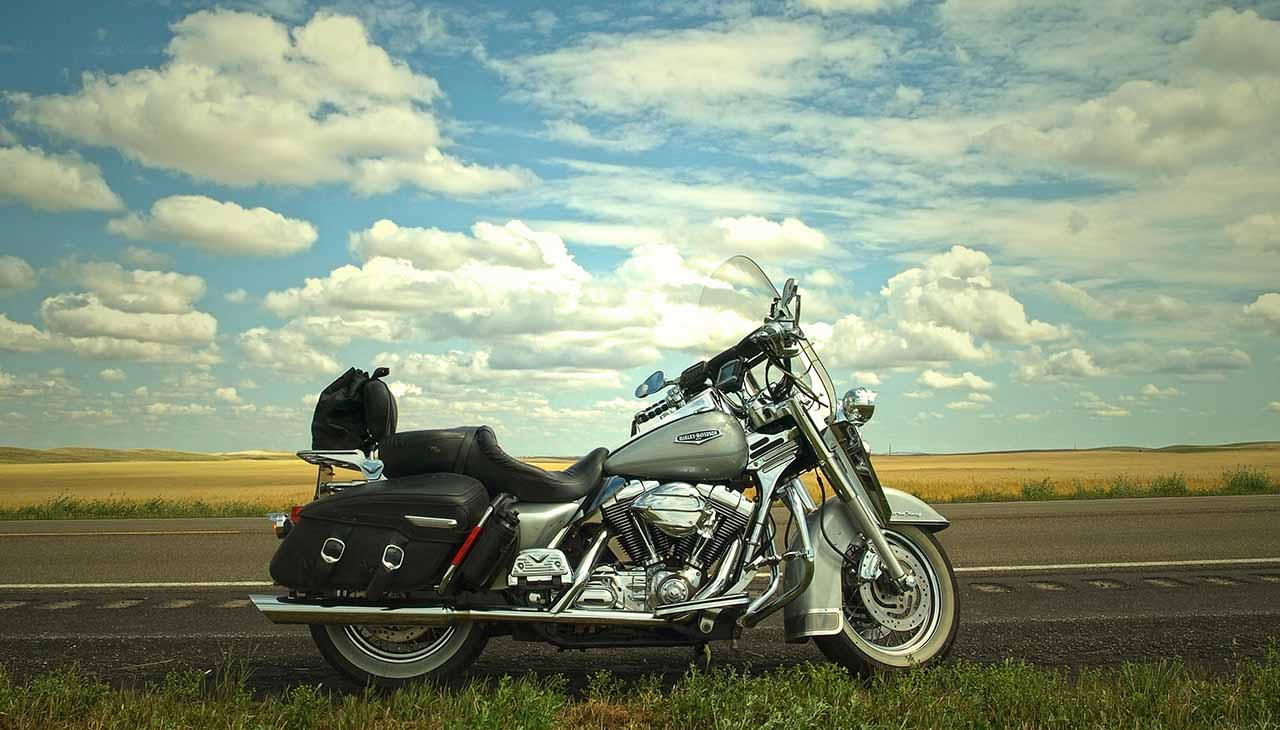
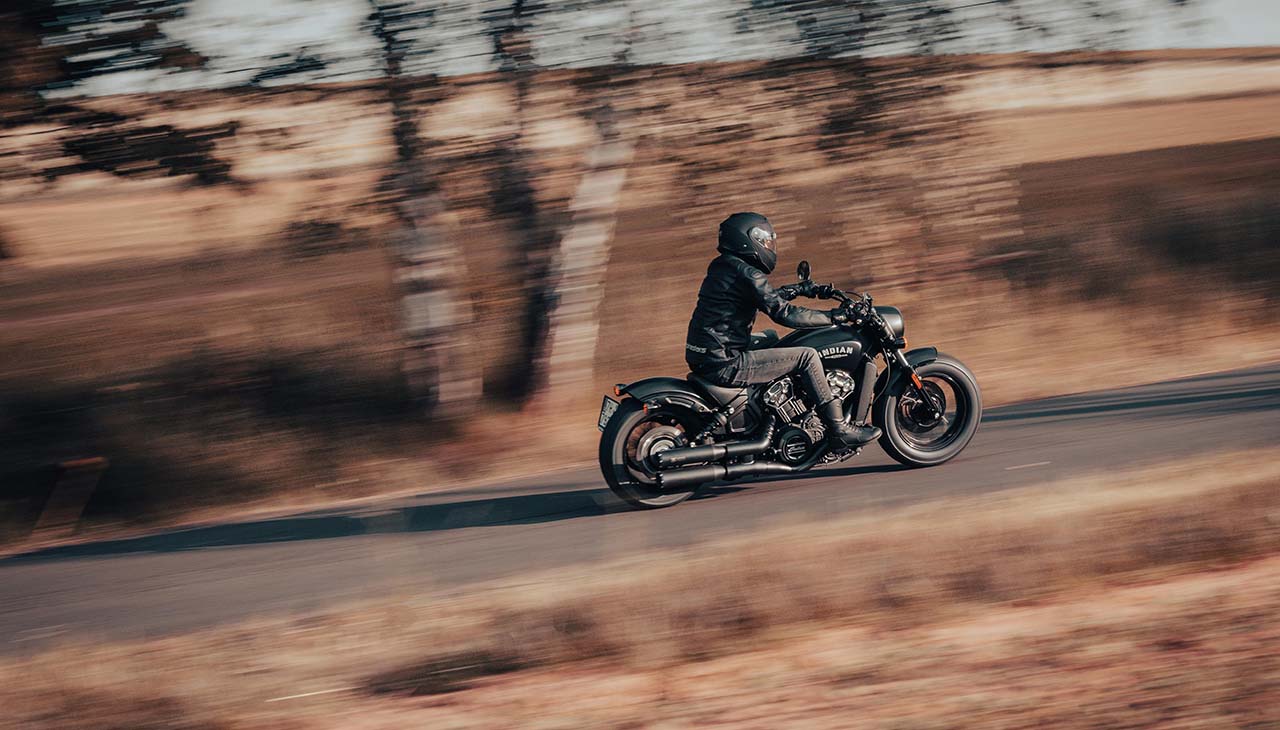
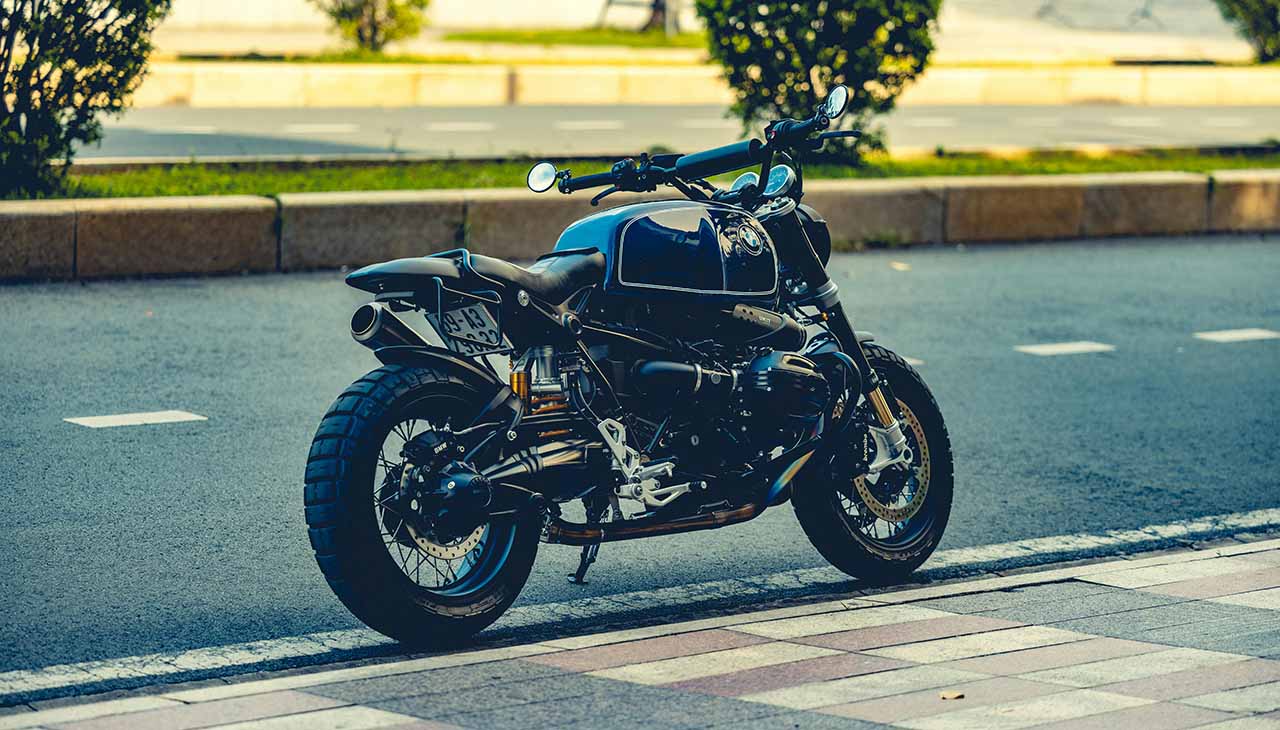
Vintage motorcycles have a timeless appeal that captivates enthusiasts around the globe. The roar of an engine from decades past, the intricate design, and the nostalgia tied to these machines create a unique allure. Over recent years, there has been a resurgence in the popularity of vintage motorcycles, with more collectors and DIY hobbyists embarking on the journey of restoring these relics to their former glory.
Restoring a vintage motorcycle is more than just a mechanical task; it’s a labor of love. It involves patience, meticulous attention to detail, and a deep appreciation for the history encapsulated within each bolt and screw. If you’re considering diving into this rewarding hobby, this guide will walk you through the essential techniques for transforming rust into a beautiful, road-ready relic.
Finding Your Relic
The first step in your restoration journey is sourcing the perfect vintage motorcycle. Whether you’re looking for a specific model or are open to anything with character, here are some tips to help you find your next project:
Online Options
- Auction Sites: Websites like eBay often have a wide range of vintage motorcycles, from partially restored projects to complete rust buckets.
- Specialist Forums: Joining motorcycle forums can provide valuable connections and leads on where to find bikes.
- Classified Ads: Websites like Craigslist or Cycle Trader post listings from private sellers. Be sure to expand your search radius for better options.
Offline Options
- Local Dealerships: Some vintage bike dealerships specialize in older models and can be a treasure trove for rare finds.
- Swap Meets: Motorcycle swap meets are excellent for finding parts and bikes, often at negotiable prices.
- Word of Mouth: Networking with fellow enthusiasts can lead to discovering hidden gems not advertised publicly.
When you find a potential candidate, inspecting it thoroughly for salvage potential is crucial. Look for signs of frame integrity, engine condition, and availability of replacement parts.
Tools of the Trade
Starting a vintage motorcycle restoration requires an arsenal of tools and equipment. Here’s a list of essentials:
Essential Tools
- Wrenches and Sockets: A comprehensive set is a must for dismantling and reassembling components.
- Screwdrivers: Both flathead and Phillips in various sizes.
- Torque Wrench: Ensures bolts are tightened to factory specifications.
- Pliers: Needle-nose, locking, and slip-joint pliers will be frequently used.
- Multimeter: Necessary for diagnosing electrical issues.
Budget-Friendly Alternatives
- Tool Rentals: Some hardware stores offer tool rentals, saving you money on seldom-used items.
- Second-Hand Tools: Check online marketplaces for used tools in good condition.
- DIY Tools: Certain specialty tools can be created at home with some ingenuity and basic materials.
De-Rusting and Cleaning
Once you have your bike and tools ready, it’s time to tackle the rust and grime accumulated over the years.
Rust Removal Techniques
- Mechanical Removal: Use wire brushes, sandpaper, or a rotary tool with a wire brush attachment to scrape off rust.
- Chemical Removal: Products like WD-40 Rust Remover Soak or vinegar baths can dissolve rust over time.
- Electrolysis: A more advanced method using an electric current to remove rust without damaging the metal.
Cleaning Components
- Degreasing: Use a high-quality degreaser to clean engine parts, chains, and other components.
- Polishing: Polishing compounds and a rotary tool can restore shine to metal parts.
- Protective Coatings: After cleaning, apply a rust inhibitor or protective wax to prevent future corrosion.
Engine Restoration
The heart of any motorcycle is its engine. Assessing and restoring the engine is a critical step in your project.
Assessing the Condition
- Compression Test: Measures the engine’s health and identifies potential issues.
- Visual Inspection: Look for obvious damage, leaks, and worn-out parts.
- Noise Check: Listen for unusual sounds when the engine runs, indicating internal issues.
Basic Restoration Tips
- Oil Change: Start with fresh oil to ensure proper lubrication.
- Gasket Replacement: Replace old gaskets to prevent leaks.
- Carburetor Cleaning: A clean carburetor ensures smooth running.
- Spark Plugs: Replace spark plugs for better ignition.
Body Work and Paint
Restoring the bike’s body to its original condition is as rewarding as it is challenging.
Repairing Dents and Scratches
- Filler and Sanding: Use body filler to smooth out dents, followed by sanding to achieve a seamless finish.
- Heat and Pull Tools: For larger dents, specialized tools can help reshape the metal.
Choosing and Applying Paint
- Primer: Always start with a good primer to ensure paint adhesion.
- Paint Types: Choose high-quality automotive paint designed for durability.
- Application: Whether using spray cans or a spray gun, apply multiple thin layers for the best finish.
- Clear Coat: Finish with a clear coat to protect the paint and add shine.
Electrical Systems
Old wiring can be a headache, but modernizing the electrical system is crucial for safety and convenience.
Diagnosing Electrical Issues
- Multimeter Use: Test continuity, voltage, and resistance to identify faulty wiring.
- Visual Inspection: Look for frayed wires, corrosion, and loose connections.
Modern Upgrades
- LED Lighting: Replace old bulbs with LED lights for better visibility and energy efficiency.
- Electronic Ignition: Upgrade to electronic ignition for more reliable starts and smoother running.
- Battery: Ensure the battery is in good condition or replace it with a modern equivalent.
Reassembly and Testing
With all components restored and upgraded, it’s time to reassemble your motorcycle.
Reassembly Tips
- Follow the Manual: Refer to the service manual for correct assembly procedures.
- Label Parts: Labeling and organizing parts during disassembly makes reassembly easier.
- Torque Specs: Adhere to factory torque specifications to avoid over-tightening bolts.
Essential Checks and Tests
- Fluid Levels: Check oil, brake fluid, and coolant levels.
- Brakes: Test the brakes thoroughly to ensure they are responsive.
- Test Ride: Conduct a careful test ride to identify any issues that need addressing.
Conclusion
Transforming a rusted relic into a vintage masterpiece is a journey filled with challenges and triumphs. The satisfaction of hearing the engine roar to life and seeing your hard work shine on the open road is unparalleled. Whether you’re a seasoned collector or a DIY hobbyist, each restoration project is a testament to your dedication and passion.
We encourage you to share your own restoration stories and tips with our community. Join us and connect with fellow enthusiasts who share your love for these timeless machines.
Ready to start your own restoration journey? Dive in, get your hands greasy, and turn that rust into a relic of beauty and performance. Happy restoring!


